Block printing is one of the oldest and most immediate forms of printmaking with the earliest surviving examples of printing onto cloth originating in China around 4500 years ago.
However it was in India where people really began to experiment with natural dyes and pattern taking block printing to greater heights. Specific patterns and colours became synonymous with distinctive areas with the intricacies of designs and the preciousness of the cloth reflecting the wealth and heritage of specific families. Communities of printers became established with skills being passed on to subsequent generations. Some of these families are still printing today using the same process and dye recipes.
In more recent times block printing has been integral to the work of several British female artist like Peggy Angus, Enid Marx, Phyllis Barron and Dorothy Larcher. Though their names may not be well-known , sadly overshadowed by their male counterparts who often took credit for their work, the work is probably familiar and can be found on fabrics, book covers, tiles and architectural details.
-
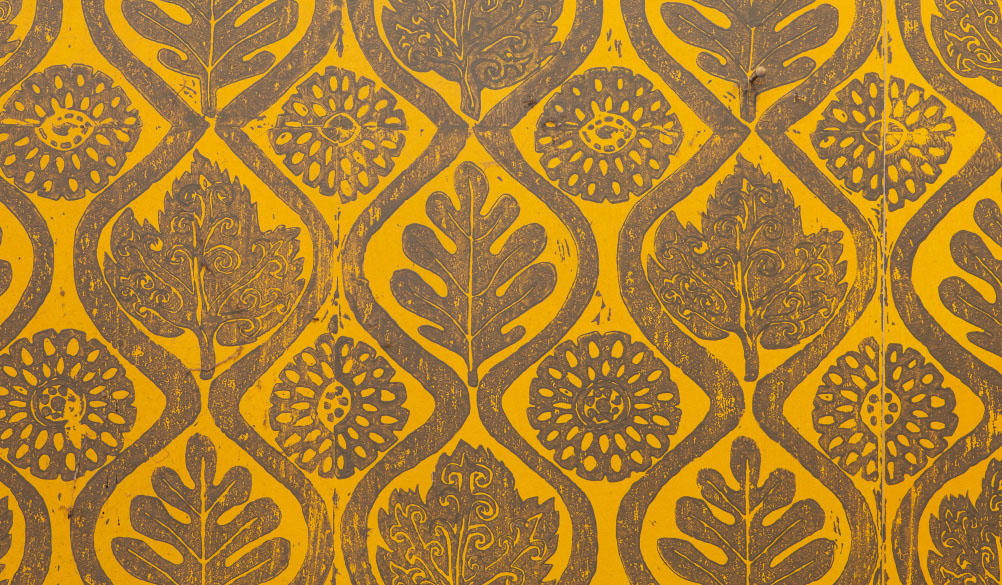
Peggy Angus wallpaper design -
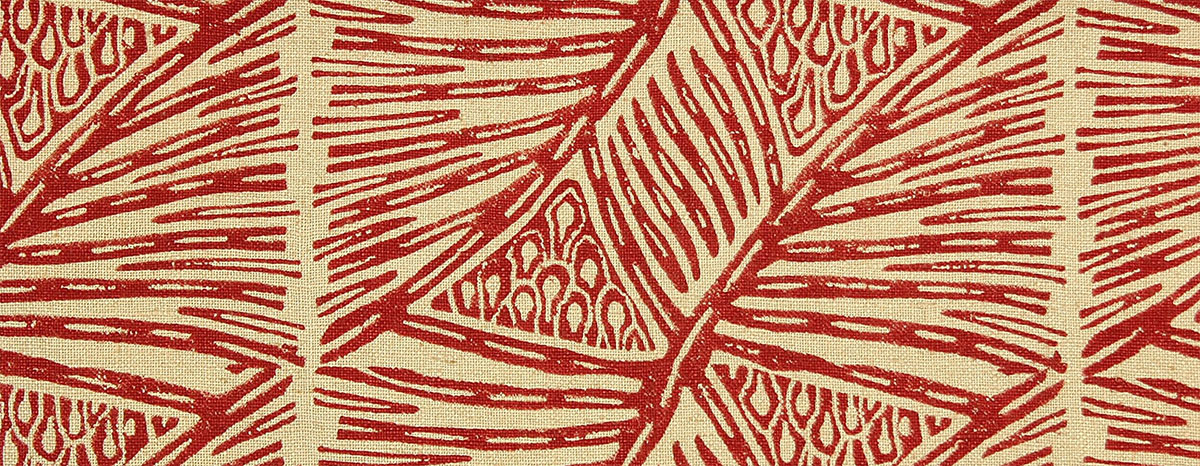
Phyllis Barron & Dorothy Larcher textile design -
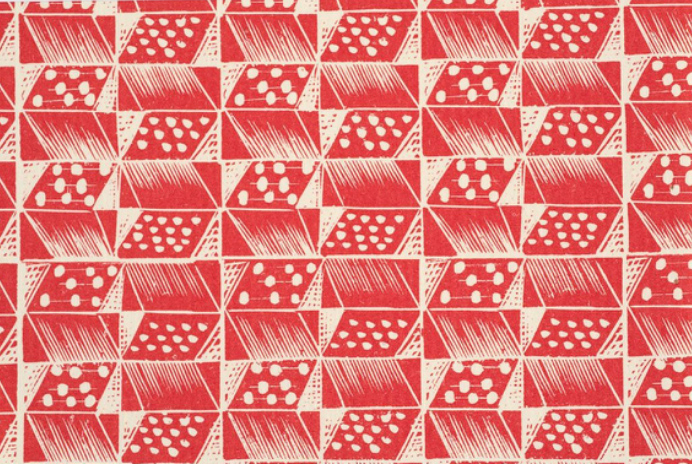
Enid Marx book jacket design
Block printmaking, when used as a repeat pattern, is I think a process that is often sadly relegated to the “craft” element of the printmaking hierarchy yet it has a truly rich and far reaching history which has stood the test of time. A block printed pattern whether on paper or fabric can have great depth and beauty with its richness relying in the mark of the hand that printed it.
Blocks can be very complex and intricately carved wooden objects or beautifully simple made from found materials with the design not really coming to life until it has been repeated many times and where the imperfections created during the printmaking process bring the piece to life.
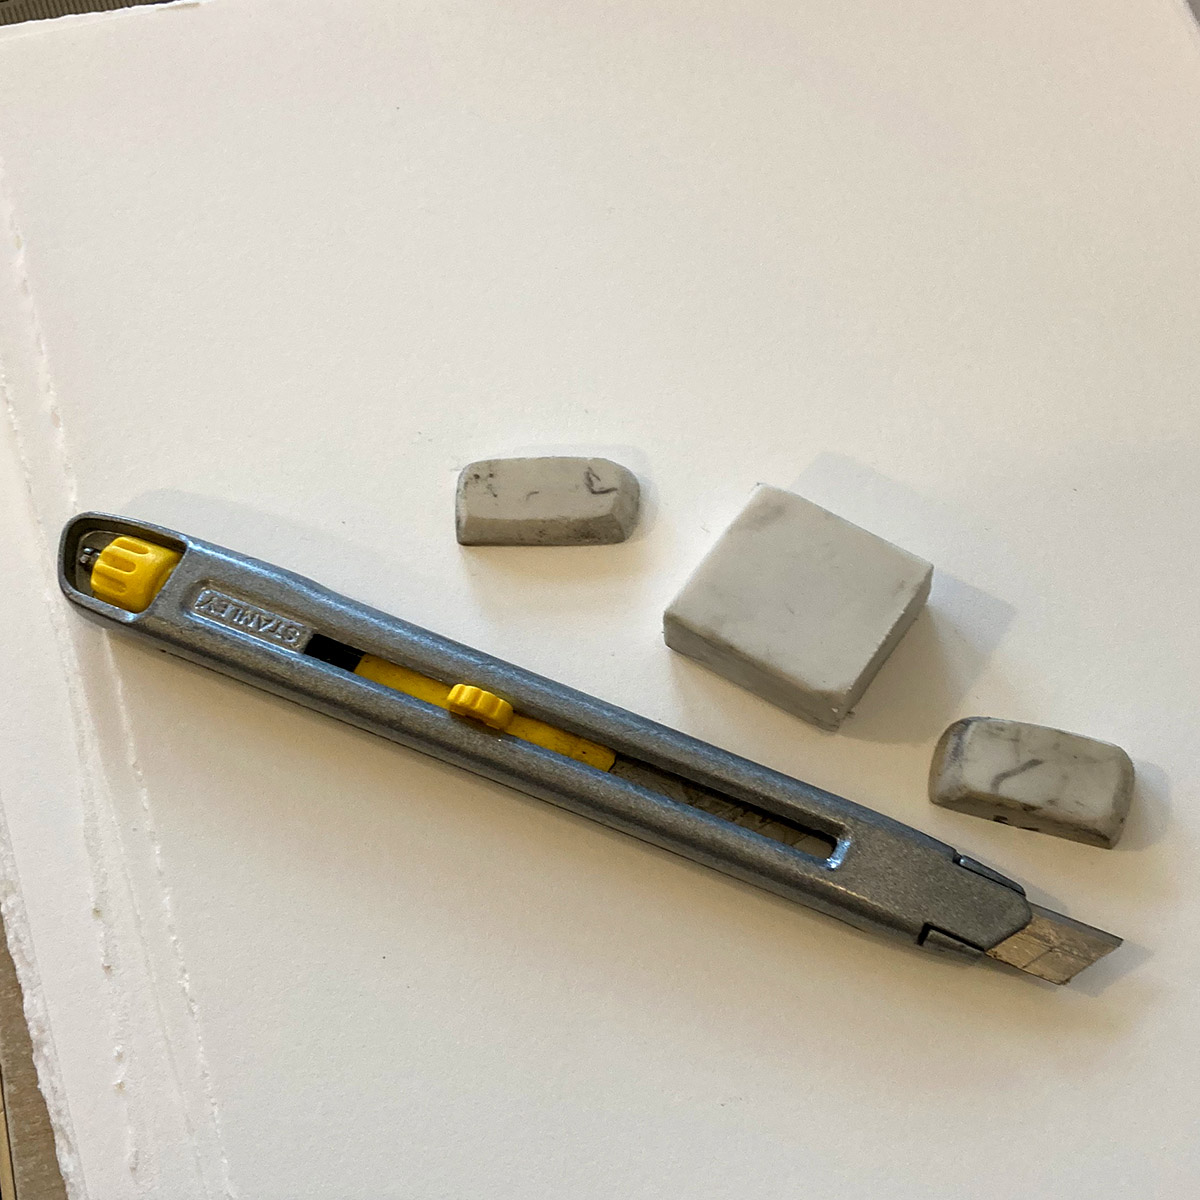
For this wee challenge I used a rubber which I carved with a craft knife. You could also use lino tools which would create a different set of marks.
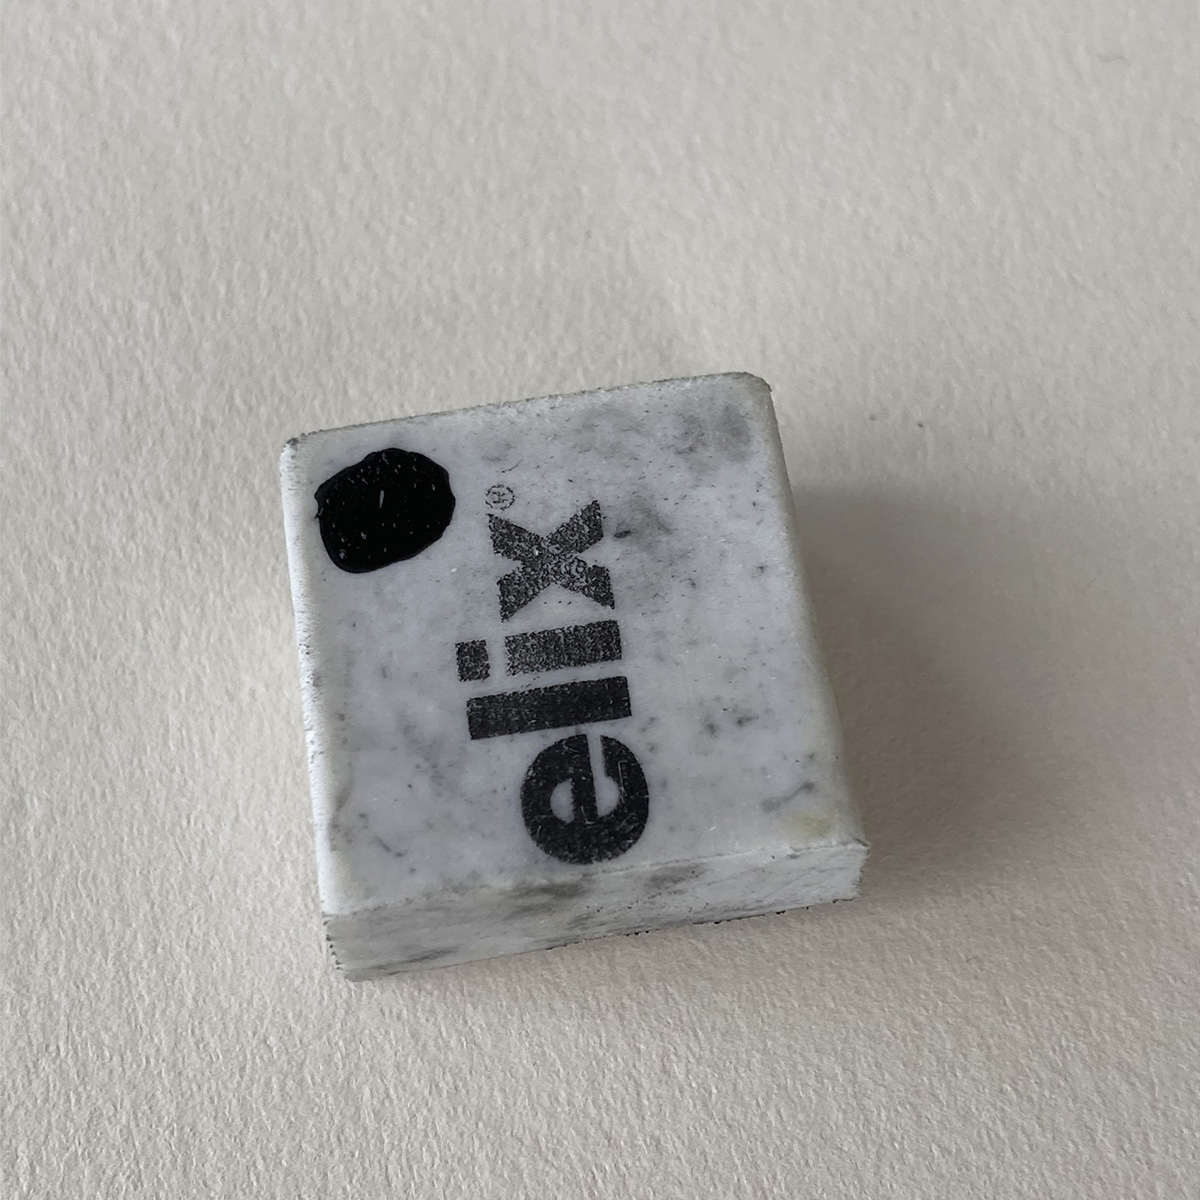
Begin by sketching out your design on the rubber then carefully cut away the negative parts of the image (those you don’t want to print.) It’s useful to mark the top corner on the back so you know which way the block is for printing – it can get very confusing if you don’t!
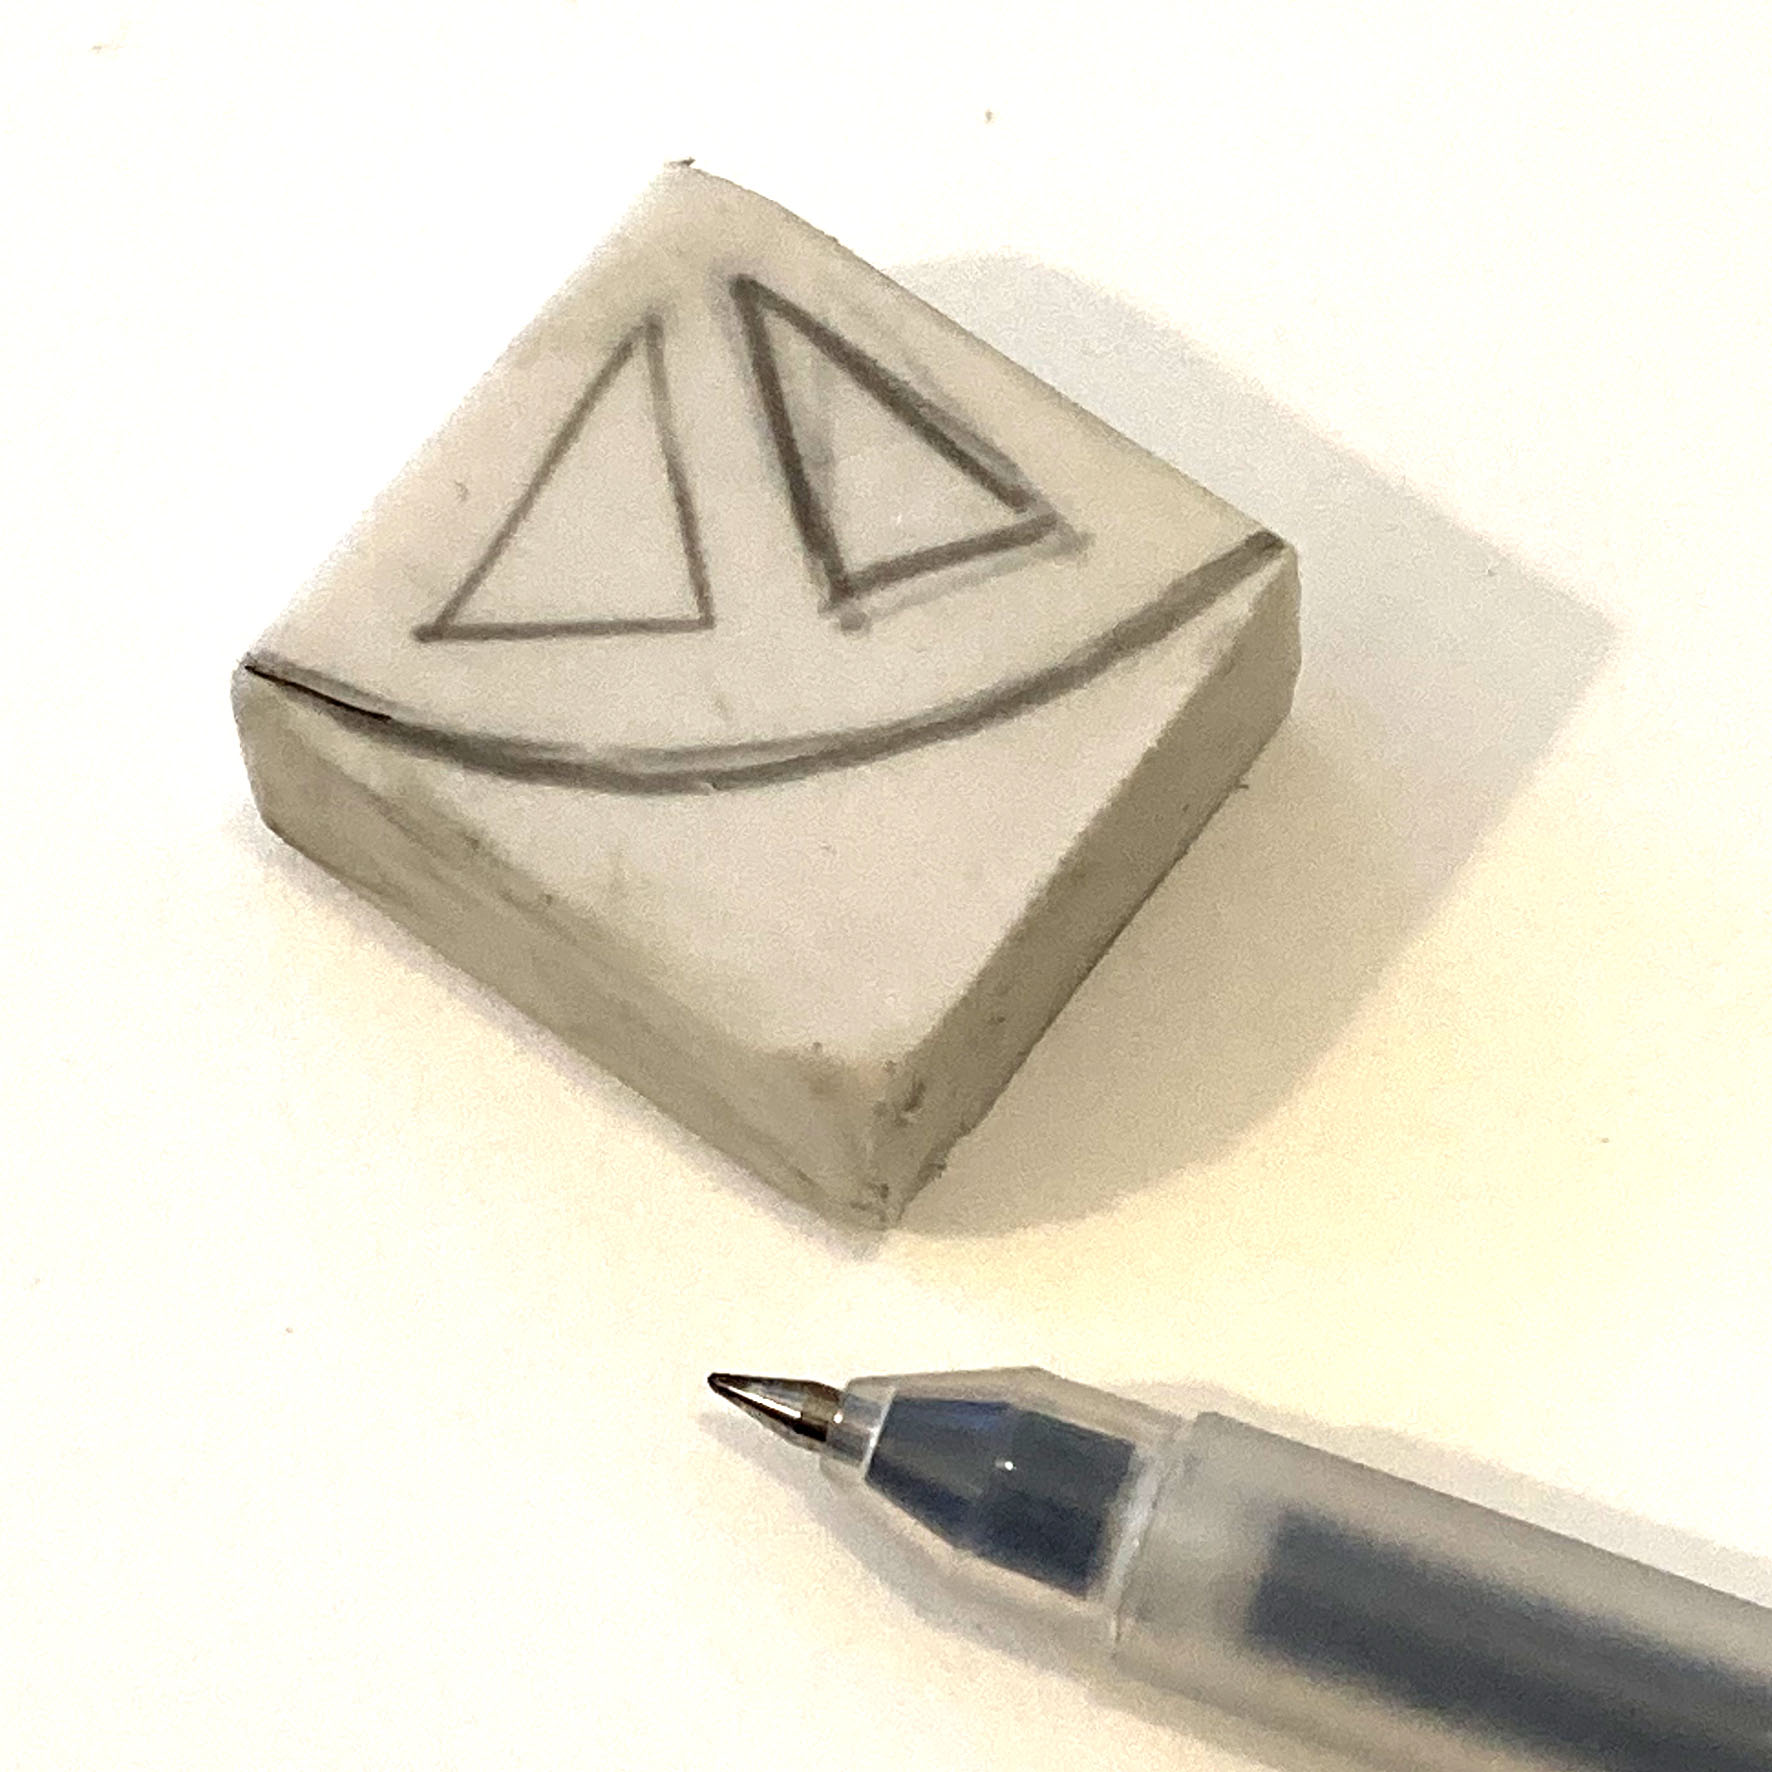
The design is very unassuming as I wanted to show the transformation from simple image to the variety of patterns that can develop. You could use a potato, piece of wood, lino – in fact anything you can carve into. For inking the block I used an office ink pad but I have used, relief ink applied with rollers, emulsion, painted on with a brush or acrylic paint, though this does dry really quickly and can make printing tricky.
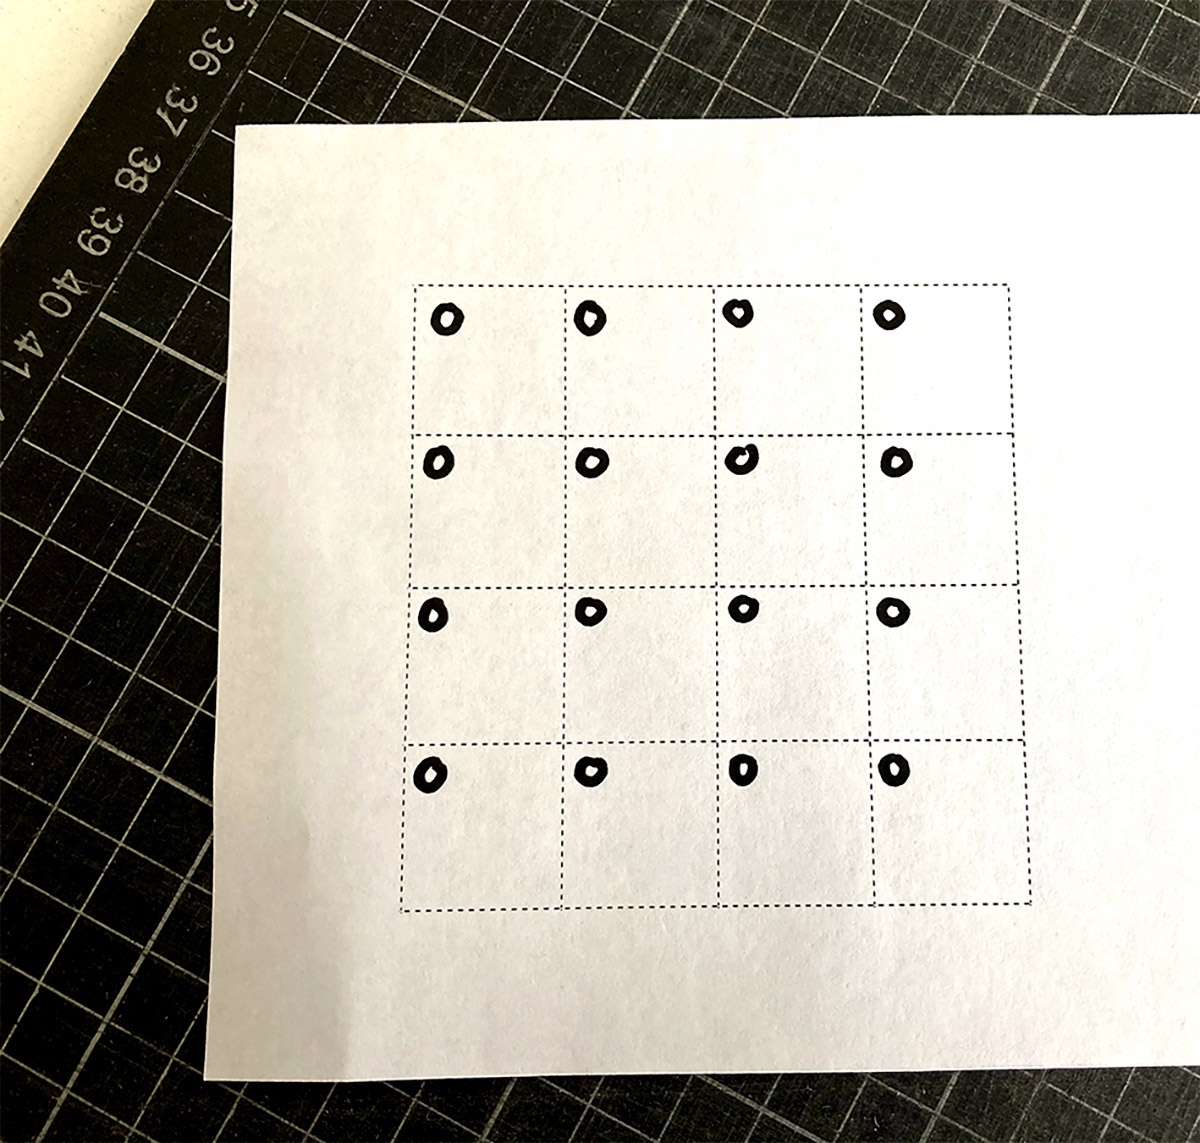
The idea is really straightforward as you can see but I do find it useful to map out my design plans on a grid which saves me a lot if headaches when trying to figure out which way up I should print next. The spot on the back of the block matches up to the circle on the plan.
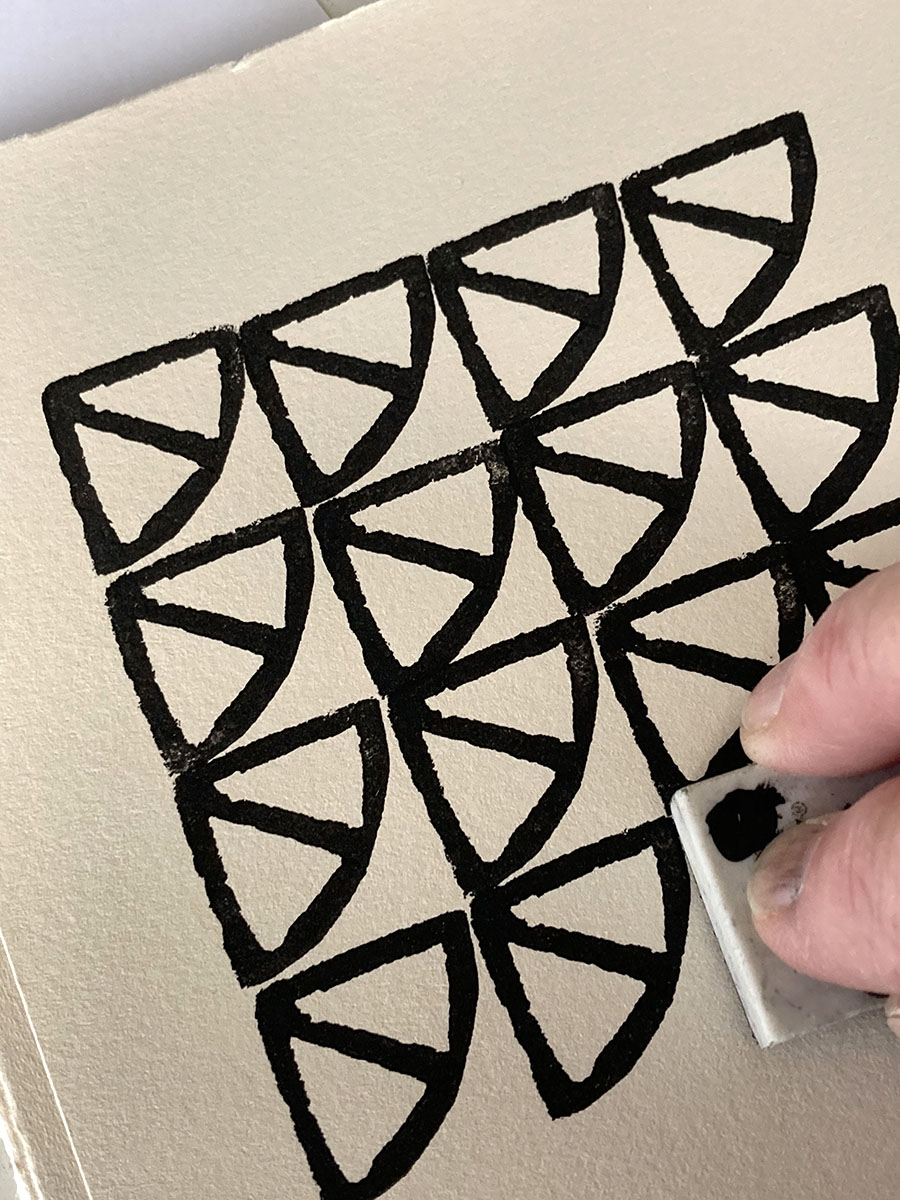
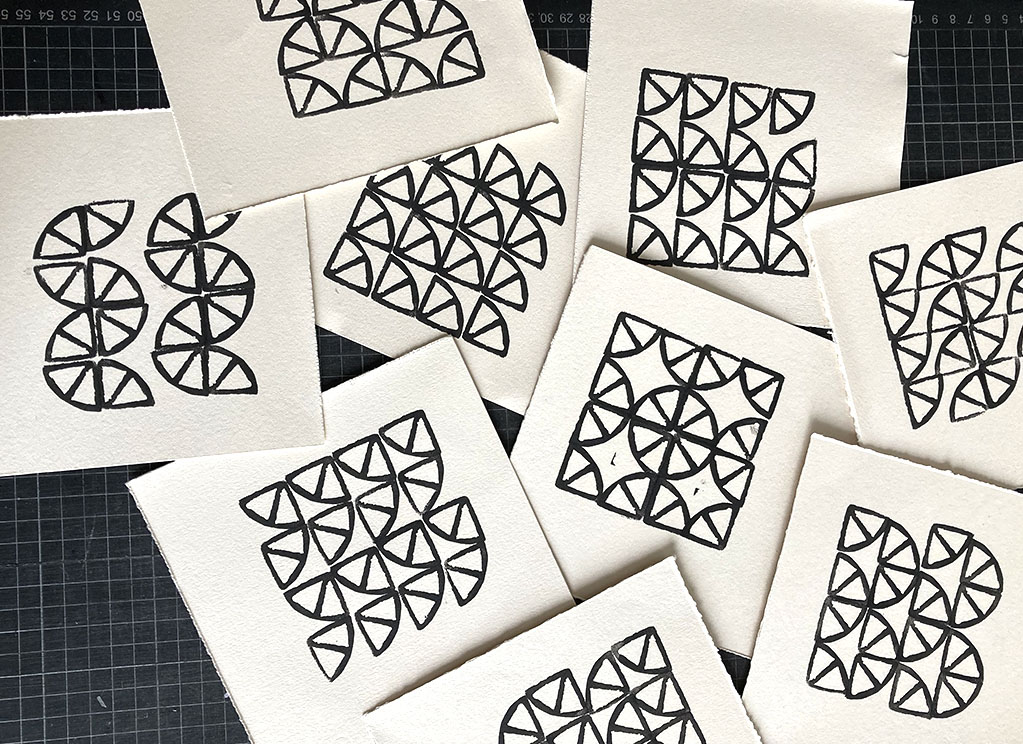
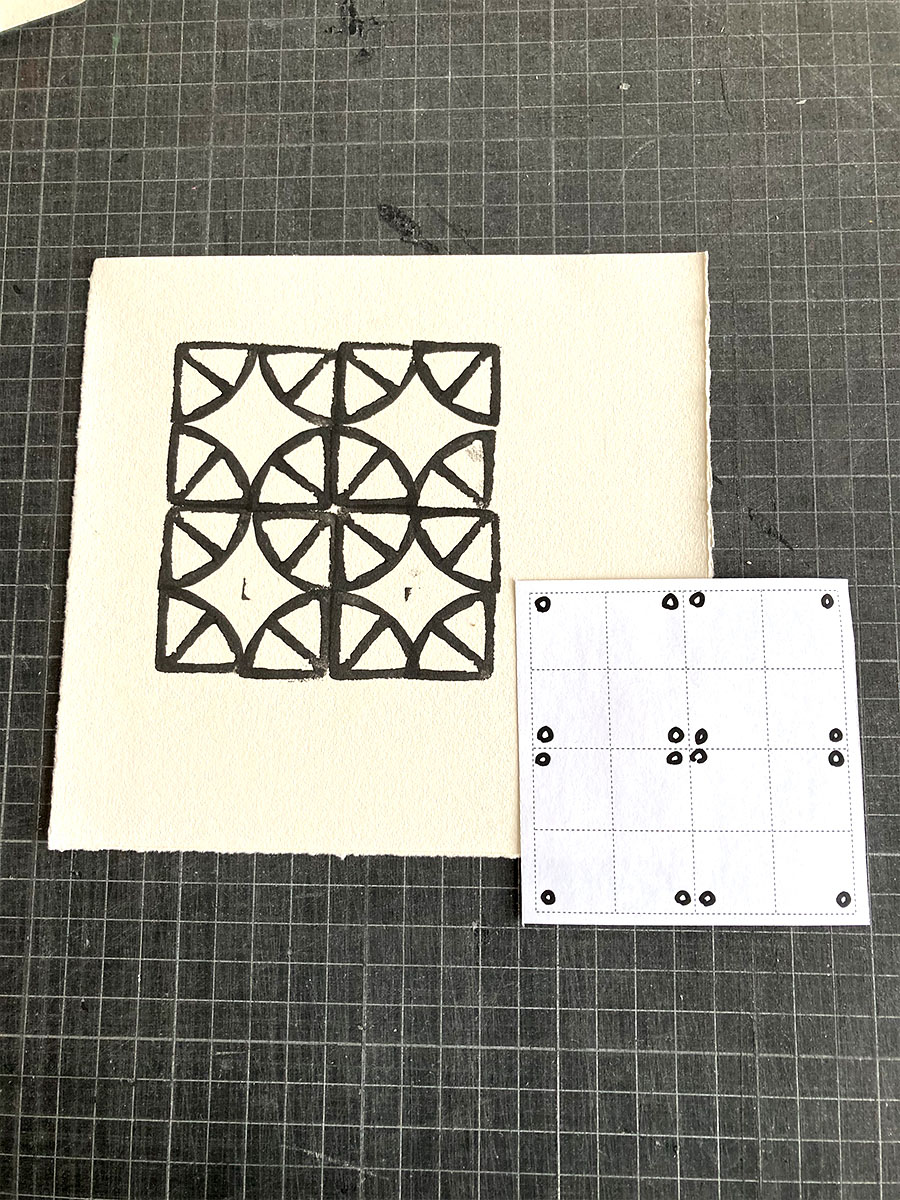
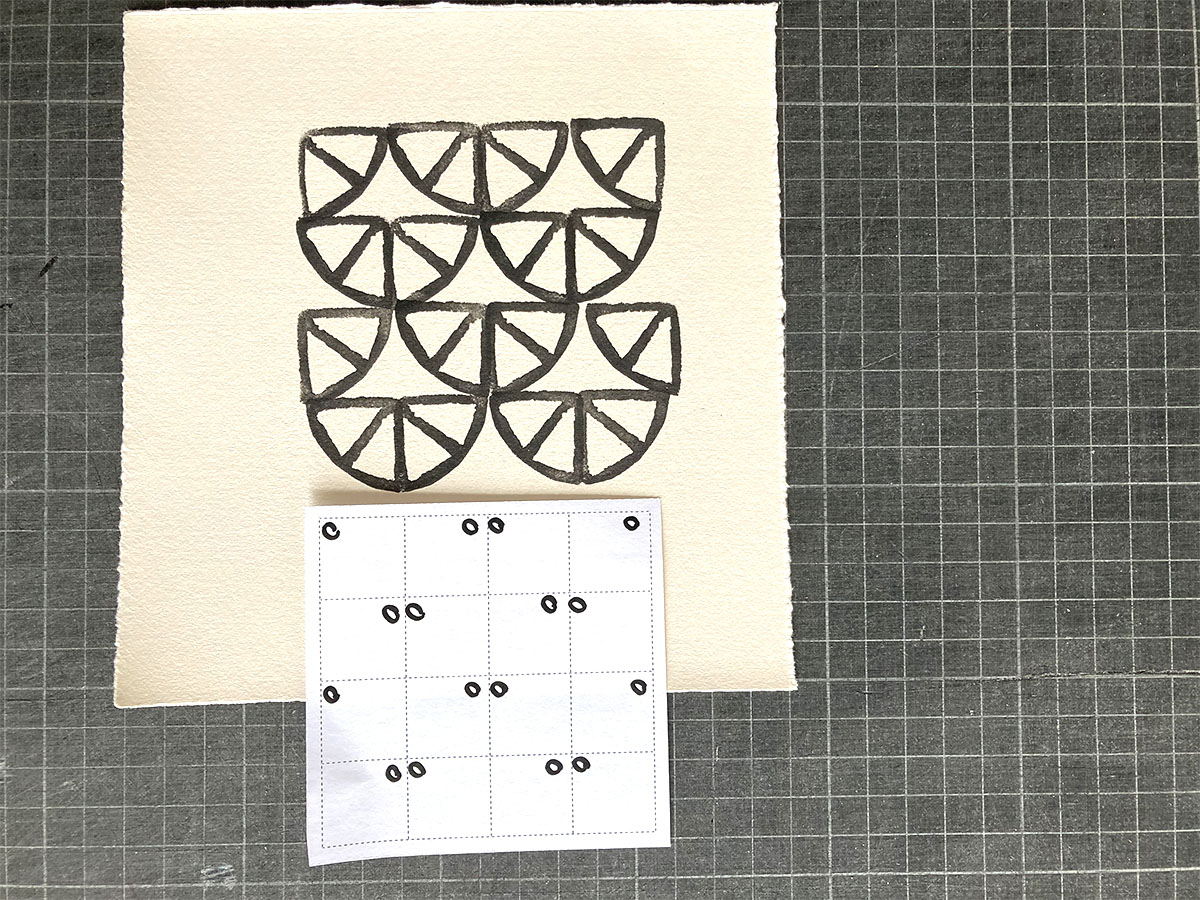
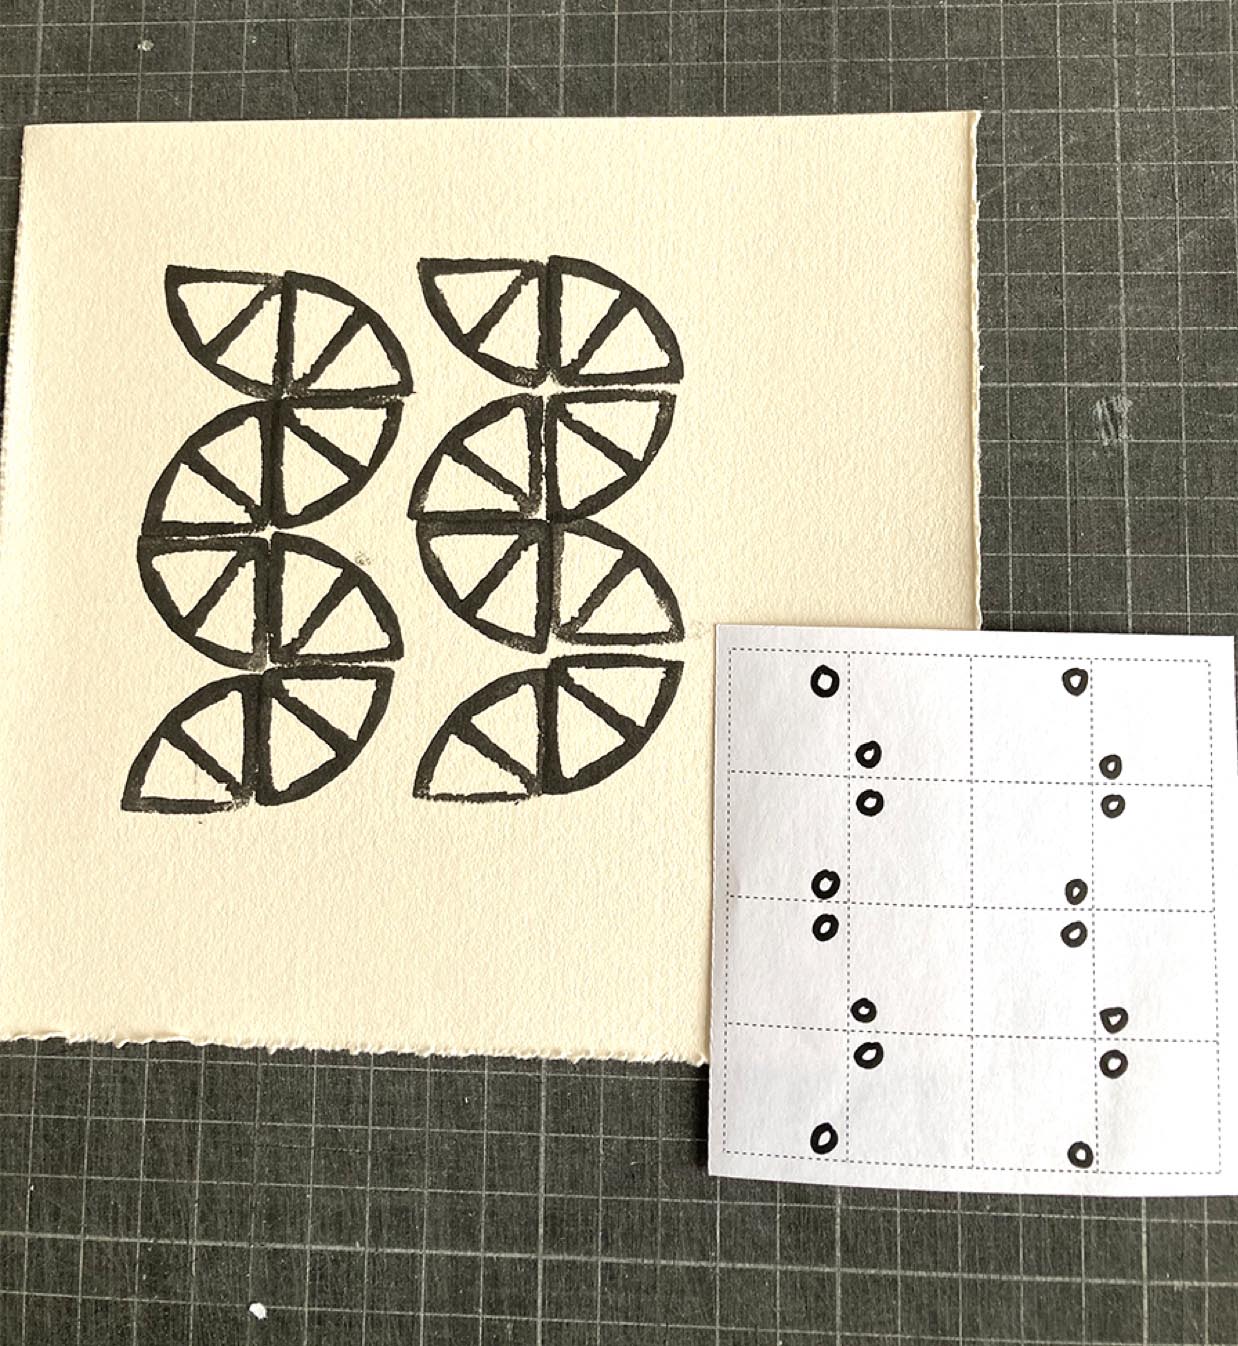
Here are a few of the patterns I came up with though there are many more possibilities.

Spot the deliberate mistake – even a plan can go awry if you’re not concentrating!
So if you’d like to have a go, my challenge to you is to see how many designs you can create from a simple design and see it take on a life of its own.